Image
We need to move student data to a secure location. The Office of Identity Management has provided a directive instructing offices to store data that contains identifiable student information only on a secured drive. This means data that contains information beyond what is publicly available (including SSNs, TINs, addresses, phone numbers, etc.) should be stored on the secure NAS.
We are asking our administrative units to move not just identifiable student data from the Q:\ drive, but to move all data currently used over to the SNAS. Moving data to a central location will minimize the chance that files containing student data are inadvertently stored in a non-secure site, as well as providing a consistent (and easy to remember) location for data.
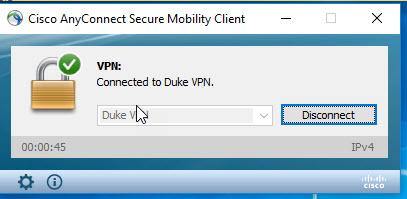
Use of the SNAS will be very similar to how you currently use Q:\. You can create, and read/write to subdirectories. One major difference is that you will need to connect to the VPN whenever you want to access the secure drive. If you are not connected via the VPN, the drive will not be accessible.
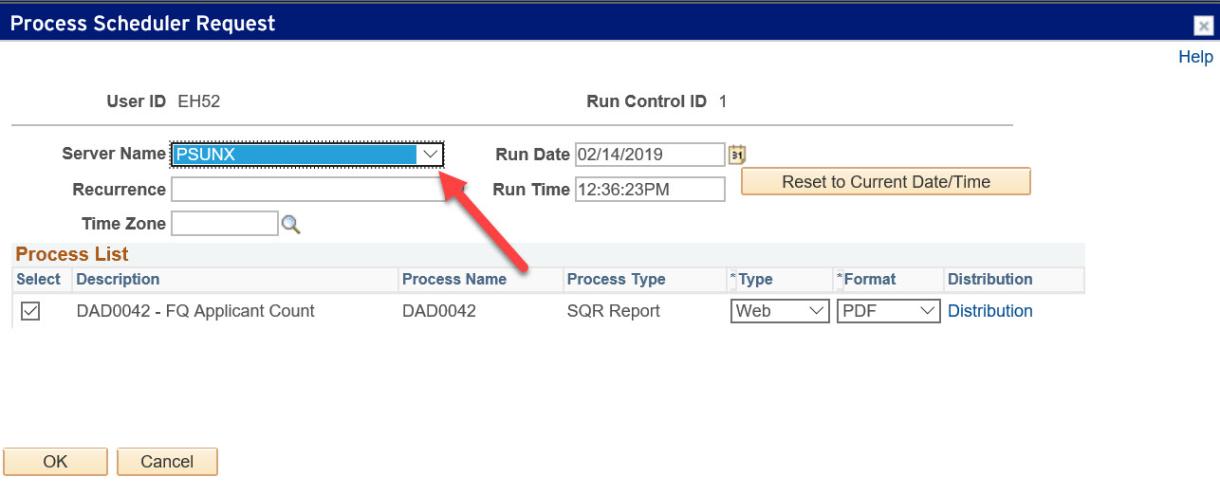
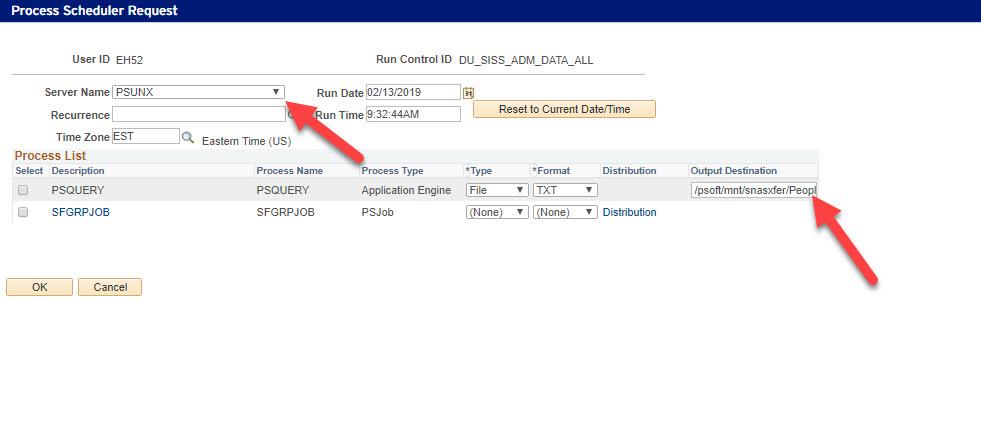
In the past, when you needed to read from or write to Q:\ you had to select PSNT as the server on which to run the process. Now, you will need to always run on the UNIX server to access (read from or write to) the SNAS.
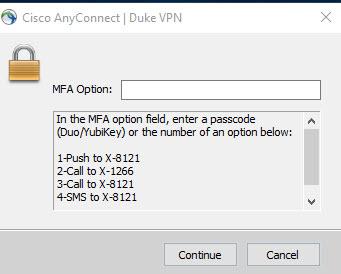
Prior to accessing the secure drive, you must have the VPN Client installed on your computer (PCs and MACs). This client allows you to connect to Duke’s VPN. You will need to work with your local technical support to install the VPN client.

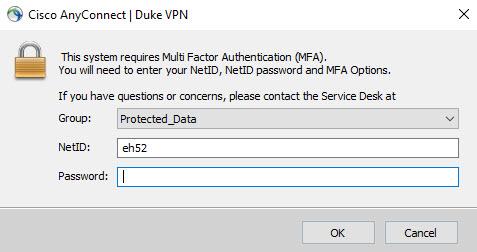
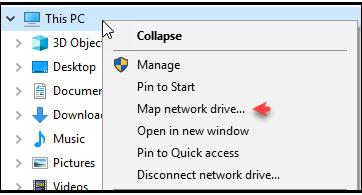
You must use the secure VPN to access this space – even when you are on campus. While you can map it to any letter, our recommendation is to map the drive to the letter “P” to provide consistency. For this step you may also have to involve local tech support if you do not have administrative rights to your machine.
Windows Computers:
\\secure-nas-fe01.oit.duke.edu\siss-fs-secure
\\secure-nas-fe01.oit.duke.edu\siss-fs-secure
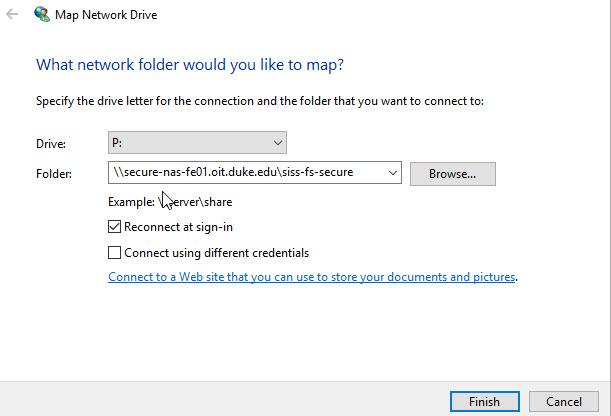
Click Finish.
smb://secure-nas-fe01.oit.duke.edu/siss-fs-secure

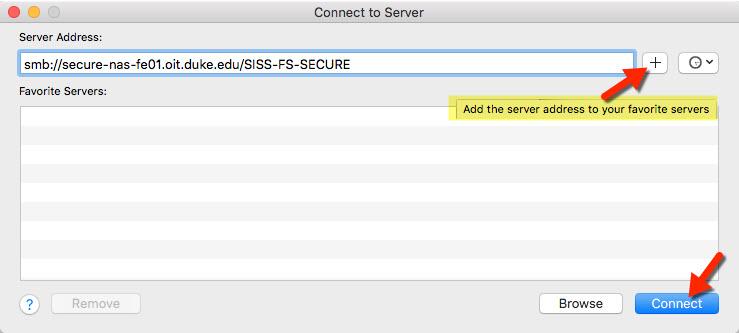
Enter your NETID login/password and click “OK” to mount the network drive.
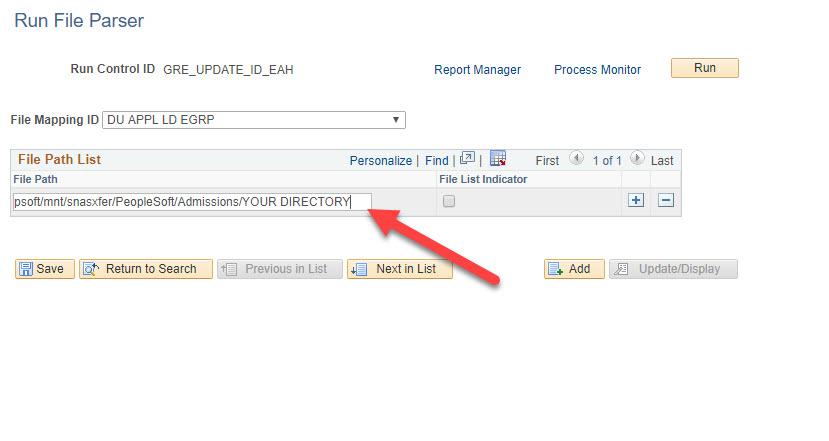
Login to Peoplesoft and modify your run controls that referenced Q:\ to now reference:
/psoft/mnt/snasxfer/PeopleSoft/YOUR DIRECTORY/filename.txt
In the event your combined directory and filename exceeds the character limit, a link has been created for the protected network path. The link is /sn/ and can be used in place of the /psoft/mnt/snasxfer/ portion of the file path on runcontrol pages or the file transfer utility.
Using the link will reduce the length of the file path by 16 characters. This does not change what the user sees from the network drive mapping on their desktops.
Example: